How AI Color Grading Works: From Reference Image to Finished Look
You have seen a film still or a photo with a color mood you love. Warm shadows, soft highlights, skin that glows without looking orange. Then you open your own footage and it looks flat, a little green, and nothing like the picture in your head. Color grading is the craft of closing that gap, and it has always been one of the slower, more technical parts of editing. AI is changing how much of that work you do by hand. This guide explains how AI color grading works, what happens between a reference image and a finished look, and where you should still take control yourself.
Color Correction vs Color Grading
These two terms get mixed up, but they are different jobs, and AI handles them in different ways.
Color correction fixes problems. It balances exposure, corrects white balance, and makes sure a white shirt looks white and a face looks natural. The goal is a clean, neutral starting point.
Color grading creates a look. It shapes the mood with tone and color choices, such as a cool, muted style for a serious documentary or a warm, bright style for a travel vlog.
Correction always comes first. Grading a badly exposed clip only stacks one problem on top of another.
What Happens Inside an AI Grading Workflow
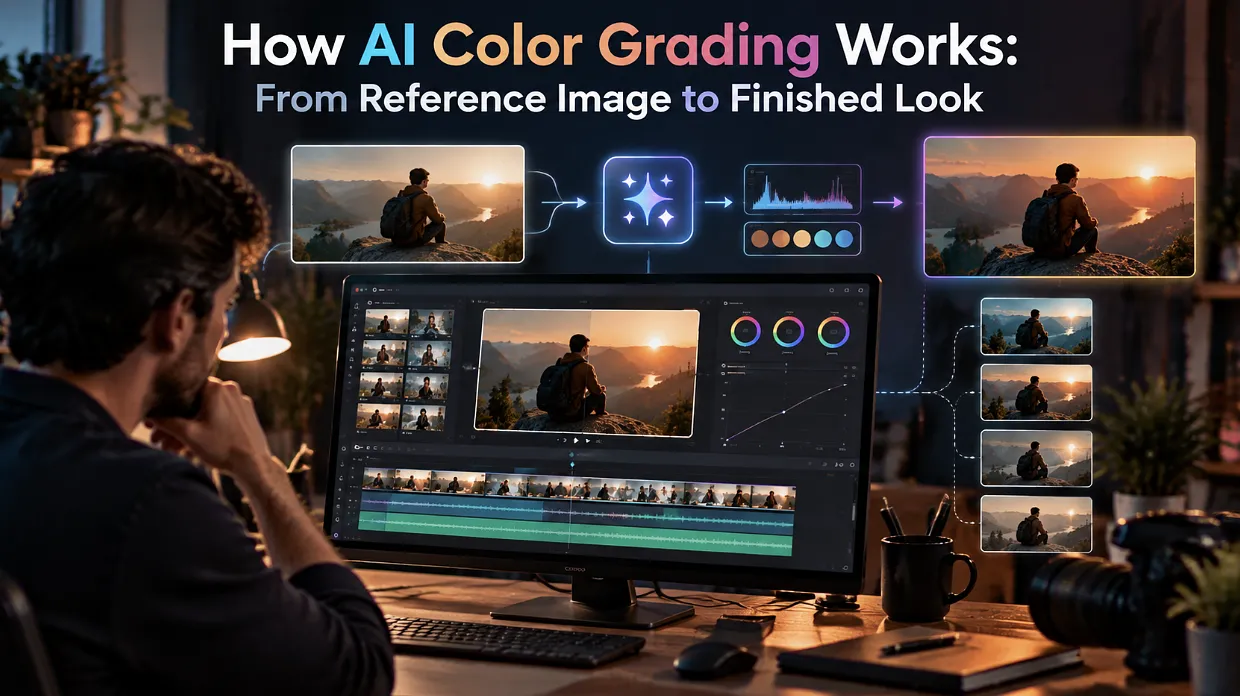
When you give an AI a reference image, it does not copy the picture. It studies certain properties of it and tries to reproduce them on your footage.
In broad terms, it looks at:
- Overall brightness and contrast. Is the image airy and bright, or dark and moody?
- Color balance. Does it lean warm, cool, green, or magenta?
- Saturation. Are the colors rich and vivid, or muted and soft?
- Shadows and highlights. Are the blacks lifted and faded, or deep? Are the highlights creamy or crisp?
- Skin tones. Do faces stay natural while the rest of the image shifts?
Then it adjusts your clip so those properties move closer to the reference. Because it works from the content of your footage, the same request can produce slightly different adjustments on a sunny outdoor clip and a dim indoor one.
From Text Prompt to Look
A reference image is not the only way in. Many AI workflows also let you describe the look in words, such as "warm and cinematic with soft contrast" or "clean and bright for a product video."
The AI translates that description into concrete adjustments, the same kind of changes an editor would make with sliders. The result is a starting point, not a final answer. Words are imprecise, and "warm" can mean ten different things, so a reference image often gives a more predictable result than a written description.
Why the Manual Controls Still Matter
Even a good AI grade rarely lands perfectly on the first try. The tools a colorist uses are still how you finish the job:
- Color wheels let you push shadows, midtones, and highlights toward specific colors.
- Curves give precise control over contrast and tone across the brightness range.
- Exposure and saturation controls handle final tweaks.
The best workflow uses AI for the heavy first pass and manual controls for the last ten percent, where your taste decides the result. If a tool locks you out of those controls, you are stuck with whatever the AI guessed.
What AI Grading Looks Like in Practice
Take a typical case. You film a testimonial on a cloudy day, and the footage looks dull and slightly blue. You find a reference image with a warm, natural, slightly soft look, and you give it to the editor.
In invideo editor, you can describe the grade to an AI agent or share the reference image, and the agent applies a first pass on the timeline. You then check the skin tones, compare the result against the original, and adjust anything that feels off.
The key is that the change is visible and editable. You are reviewing a draft, not accepting a black box.
Choosing an Editor for AI Color Work
Not every editor treats color the same way. Some offer a few preset filters, others give you a full professional grading panel with no AI help, and a smaller group combines both. When you compare options, a few questions help:
- Can you start from a reference image or a written description?
- Does it handle correction and grading, or only stylized filters?
- Can you fine-tune with wheels, curves, and manual controls afterward?
- Can you match different clips so a whole sequence looks consistent?
- Can you see and undo every change?
Invideo editor is built around that combination, and its color grading tool lets you correct exposure, balance colors, and create the look you want, either by describing the grade to your AI agents or sharing a reference image. From there you can fine-tune with color wheels, curves, and manual controls. That mix of a fast AI starting point and hands-on control is what makes the workflow useful for both beginners and experienced editors.
A Simple Workflow You Can Reuse
Here is a routine that works for most projects.
- Assemble the edit first. Cut and arrange your clips before you grade so you do not waste time on footage you will delete.
- Correct each clip. Fix exposure and white balance so every shot starts from a clean base.
- Pick a reference. Choose one image or a short written direction for the look.
- Apply the grade. Let the AI make the first pass across the sequence.
- Check skin tones. Viewers notice faces before anything else.
- Fine-tune by hand. Use wheels and curves to fix contrast and color where the AI missed.
- Match the shots. Compare clips side by side so the whole video feels consistent.
- Review on a phone and a monitor. Color can shift between screens.
If your footage needs cleanup before grading, invideo editor can also assemble a base cut from raw recordings first, so your color work goes only onto clips that make it into the final video.
Common Mistakes to Avoid
- Grading before correcting. Fix the basics first.
- Copying a reference too literally. A still from a film shot with different lighting will never match your footage exactly, and forcing it can wreck your skin tones.
- Over-saturating. Strong colors look exciting for ten seconds and tiring after that.
- Ignoring consistency. A great look on one clip means little if the next clip looks different.
- Trusting one screen. Always check on more than one display.
- Skipping the original. Toggle back to the ungraded clip regularly to check that you are actually improving it.
Where Human Judgment Still Leads
AI can match tone and balance, but it does not know what your story needs. It cannot decide that a scene should feel cold because the character is lonely, or that a product video should feel clean and trustworthy. Those choices come from you.
A useful way to think about it is that AI does the setup and you do the taste. It speeds up the technical steps so you spend more time on the creative ones.
Conclusion
AI color grading works by studying a reference image or a written direction, reading properties like contrast, color balance, and saturation, and applying matching adjustments to your footage. It is a fast way to get to a solid first look, especially when you pair it with correction and hands-on fine-tuning.
The workflow that holds up is simple: correct first, grade with a clear reference, fine-tune by hand, and check on more than one screen. Editors like invideo editor make that first pass quicker while leaving you in charge of the final look.